Auto switching between different tiers within same Azure App Service Plan
This is sub post of main post Azure Resource Cost Optimization. It’s better if you start reading from main post. If you simply want to know how you can switch between different tires automatically depending on time line, you can straight way jump into this post.
Unlike Azure virtual machine, you cannot start or stop Azure App service, when it is not in use. But what you can do here is, switching to different tier, which has low amount of resources allocated, at the time frame where you can expect low amount of traffic to your App Service. As an example as a developer, you can auto scale up and down your Dev, QA and UAT environment depending on development time line of the day and the week for sure.
At the same time please note that it is safe to switch between different tiers within same plan, As an example it is safe to switch between tiers within Basic plan. You cannot switch between B1 and F1, if your app uses more than 1GB as F1 is limited to 1GB of storage.
When it comes production environment, if you are aware on traffic pattern of the day then simply you can follow this mechanism . Otherwise you might need to scale up and down depending CPU usage using features exposed through Azure App Service Environment .
Lets jump into implementation
- Create Azure Automation account here
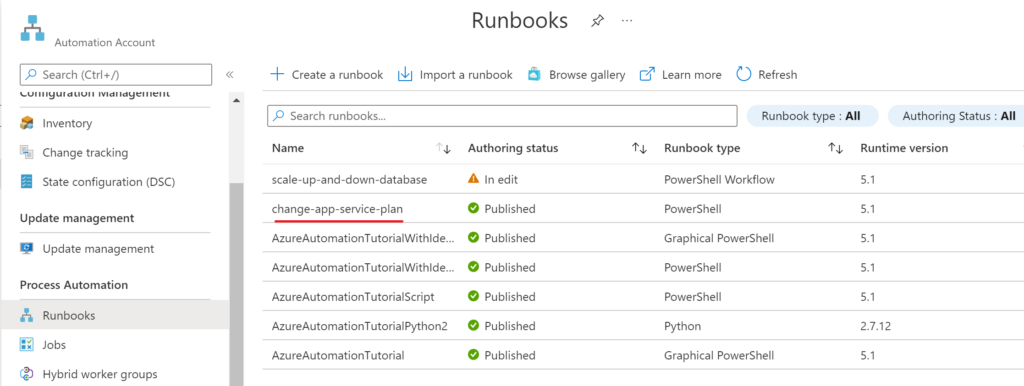
- Create a Azure runbook with run book type PowerShell under created Automation account
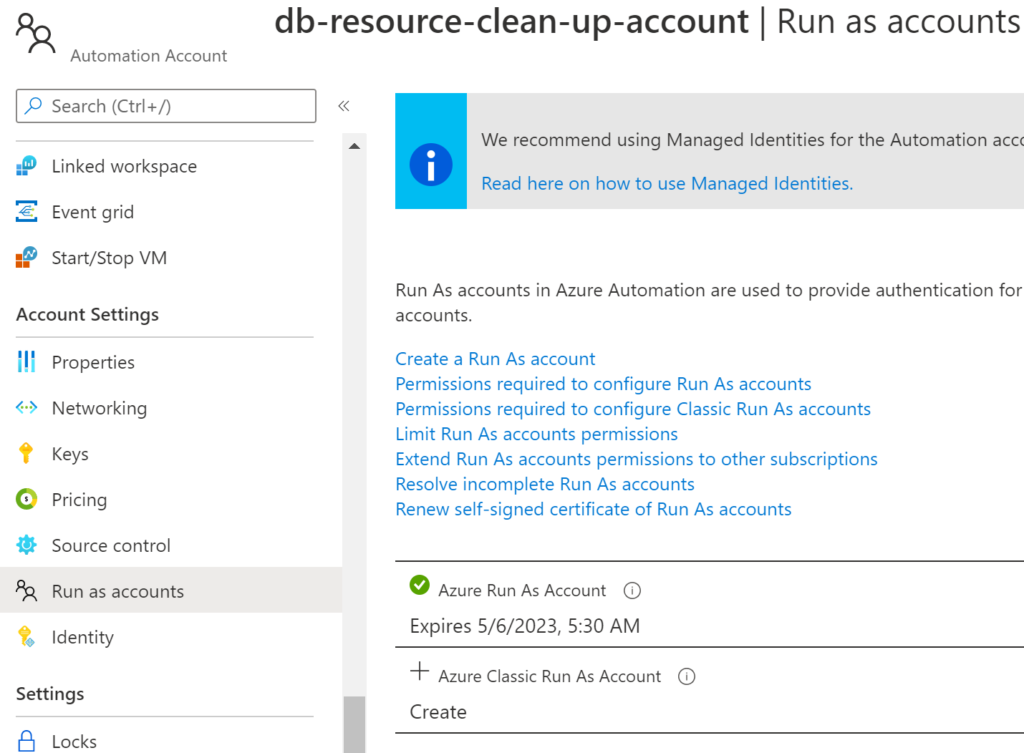
- Create run as account under Azure automation account that you created. Run as account is needed to give access to runbook when accessing Azure resources of your subscription.
- Add this PowerShell script to the Runbook that you created and edit Resource Group name, App Service Plan name and Azure Run As Connection name(Azure Run as Connection can be created under connections blead of Azure Automation Account). Please note that this PowerShell script depends on some Cmdlets that are available within AzureRM.Websites PowerShell package. Therefore you should install it within your Azure automation account.
- Then you can run the runbook manually by setting up parameters as per your environment and make sure that it runs in your environment as expected.
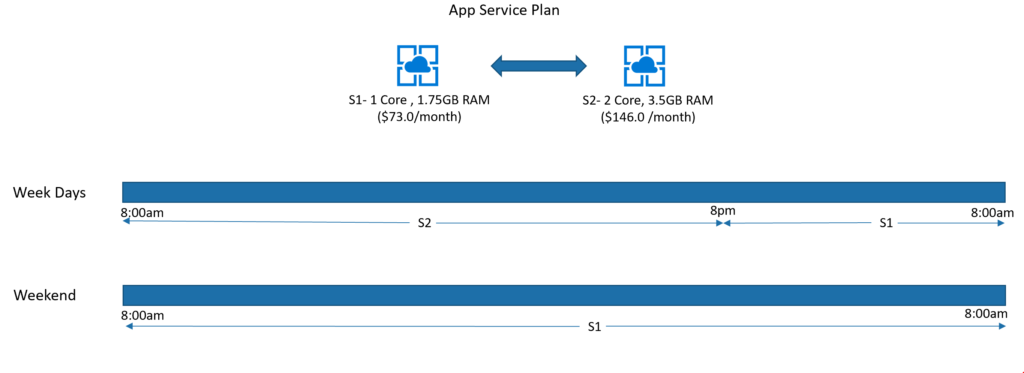
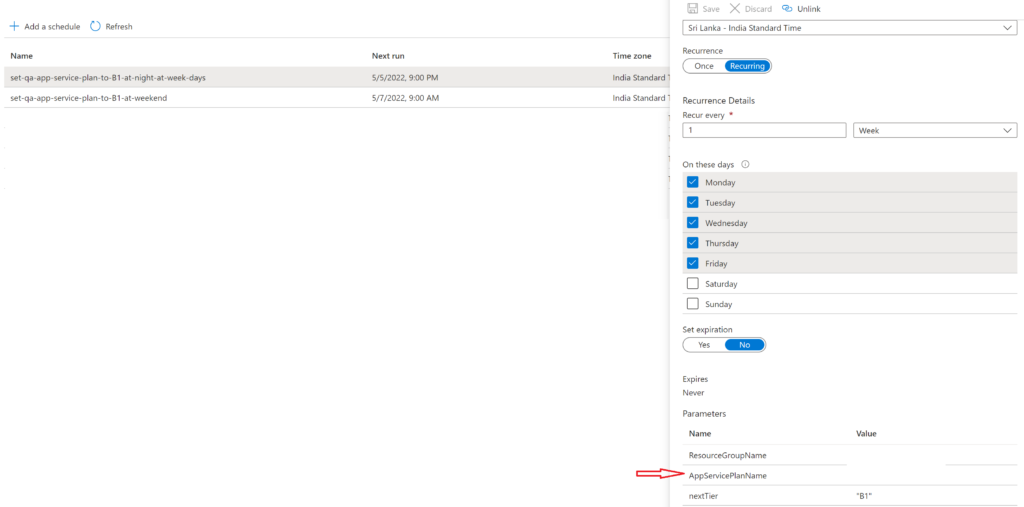
- Create schedules at Schedules blade of Azure Automation account as per your time line. Sample time line could be as below
- Associate schedules with Runbook you created and set parameteres as per your environment. Sample schedules could be as fallows.
- That’s it 🙂